HOW TO COLOR YOUR HAIR AT HOME: useful tips and few tricks…and that’s it!
Keeping your hair looking good is really complicated … grey hair and regrowth are no respecters of time ☹ All you need to do, however, is use the right products and accessories and arm yourself with patience and goodwill.
Here are all the steps for achieving a professional result at home…
1. Before you start:
Choose the products by carefully check the colour line you prefer, its features and above all, the right nuance for your hair. You need to have a clear idea of the result you want to achieve, which will make it easier to select the right colour.
2. The tools you need to colour your hair:
Some accessories are basic when you want to colour your hair: comb and gloves. It is also a good idea to use a protective cape or a towel. Lastly, hair clips can be useful for separating the locks of the hair to make the colour application easier
3. How to choose the colour:
The first decision is whether use a permanent or temporary colour (direct colour). In the first case, these are products which cover 100% grey hair and are long-lasting. In the second case, it is only e deposit of colour pigment onto the hair body , it does not cover grey hair and il lasts from 4 to 8 washes.
4. How to touch up regrowth
It must work on the roots only and avoid treating the lengths and tips. It is ideal to cover the grey hair that is already visible 3-4 weeks after the previous application. Tip: to protect the scalp, it is advisable not to apply the colour on newly washed hair, so that the sebum acts as protection.
5. Separating into locks:
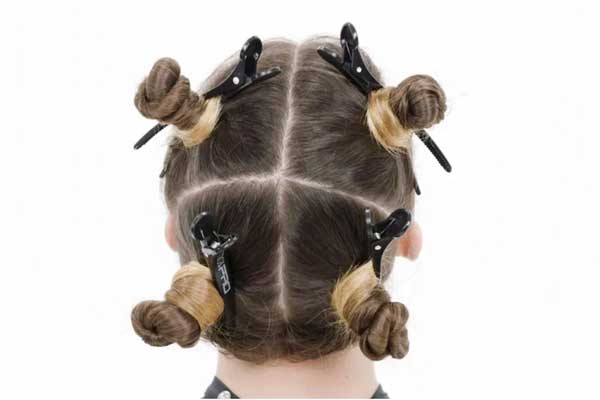
To make it easier to apply the colour, the hair should be separated into four sections: separating the two sides with a central parting and then, another parting in line with the ears. From an practical point of view, it is better to work on one side at a time, isolating the others with hair clips.
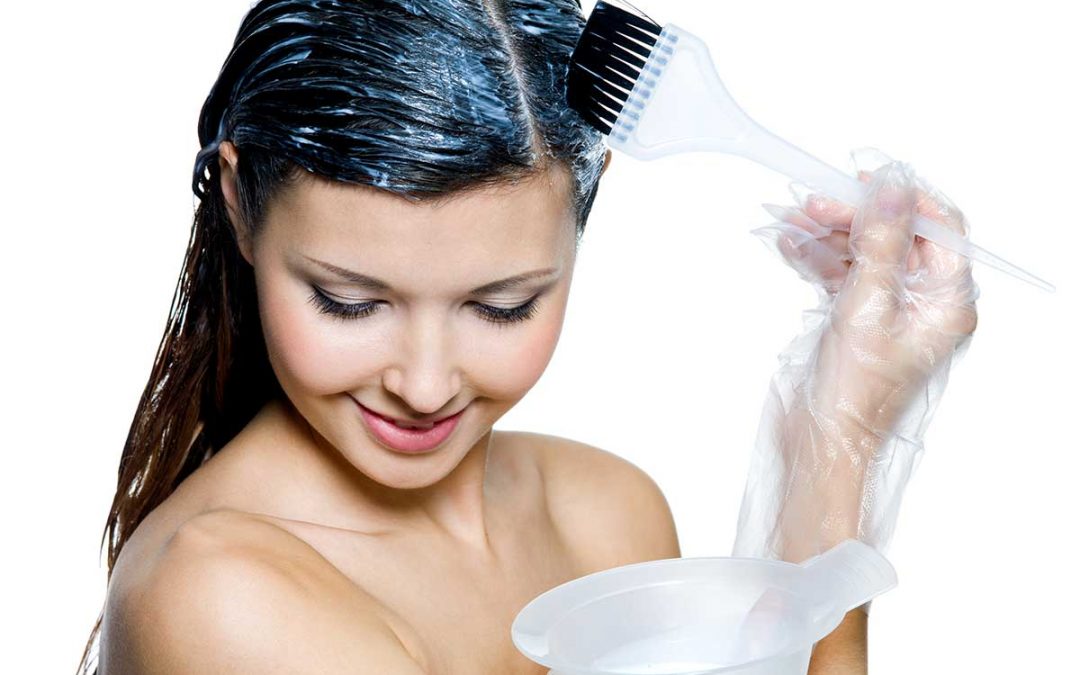
6. Applying the product:
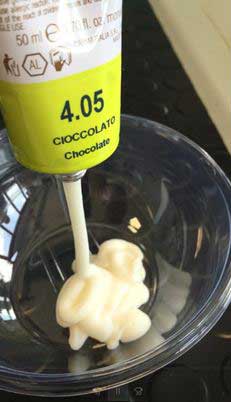
Firstly, put on the gloves and protective cape or towel; then, prepare the mixture by following all the instructions indicated inside the boxes.
It is possible now start to apply the product, starting from the hairline and then, moving towards the sides. The secret is to take thin locks and apply the product only on the root for 1 cm or 1.5 cm. The central parting should always be as guide. Once the side sections are completed, it is possible apply the product on the back as well.
7. Resting time:
SILIUM colour should be left onto the hair for 10 minutes or 30-40 minutes (depending of the line category of chosen colour kit ) it is not advisable to speed up the colour process by using hair dryer or other heat sources. The regrowth should, in fact, be allowed to dry naturally.
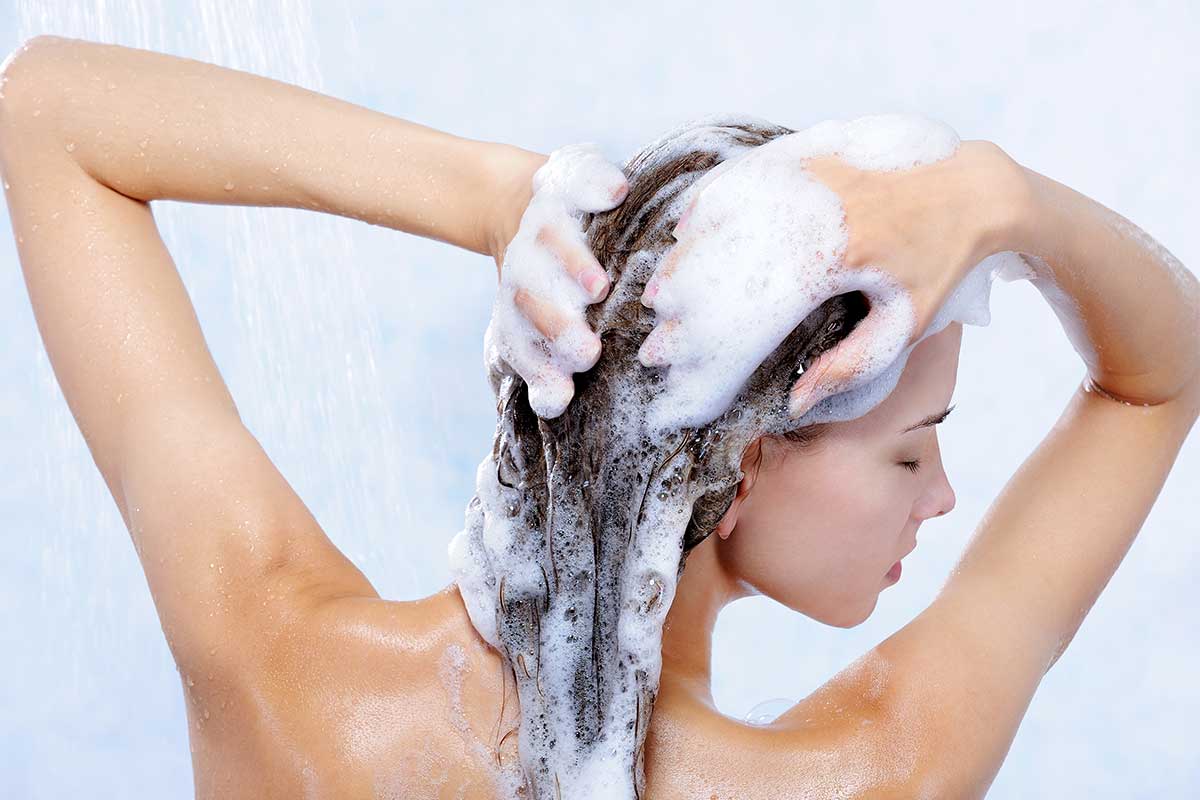
8. Rinsing:
Keep the gloves on. Once the resting time is off, pour on the hair a small quantity of warm water and gently massage to emulsify the colour mixture. Rinse thoroughly until the water runs clear. Then, apply the POST-COLOR treatment contained in the kit, all over the hair, leaving it onto the hair for few minutes. Rinse thoroughly until the water runs clear. Proceed with styling.